Professional Logo Design Process From Start To Finish
This article showcases our Logo Design Process for Graphic Design and Branding projects with clients, in a step-by-step guide. Here. you will learn how to design a logo from concept to completion.
Although every project is different regarding scope, style and industry, the logo design process itself tends to remain fairly consistent.
In the simplest terms, it comes down to understanding the client’s needs through questions and research, creating and developing the concepts, finally discussing and expanding the design into all the forms the client may need to get up and running.
If you want to jump to any of the specific logo design process stages to learn more, use the navigation links above in the table of contents.
Otherwise, let us begin.
Part One – Initial Logo Design Process Steps

1.0 – Construct the Creative Design Brief
The first step in any professional logo design process is to build a creative design brief.
To understand the client and their needs, we must ask questions and develop a clear understanding of their business, their industry and the issues they have been having.
This initial phase of the graphic design process stages can be completed however the client is most comfortable – be it over the phone, in person, using an online design questionnaire or simply via email.
Ultimately, the purpose of the design brief is to help the designer understand the project, so the more they know, the better they can communicate through the initial design concepts.
1.1 – What is a Creative Design Brief?
A creative design brief is a document intended for a design or development project, created during a consultation between the client and the designer.
In our case, it is a set of around 20 questions and takes approximately one hour to complete in full.
The more complete the answers, the better we can communicate through the design concepts – so we advise clients to spend time in completing it.
1.2 – What Questions do we ask Clients?
The logo and branding questionnaire we use is broken down into several key areas:
– About Your Business – What does your business/product do? What problem do you solve for your customers? What about your background, product or service sets you apart from your competitors?
– About Your Customers – Describe your ideal client, What is the primary message you want to convey to your customers?
– About the Project – If you have an existing brand/identity, why isn’t it working for you? Please share three links to Brands/Logos that inspire you. What do you like best about them? Using five adjectives or short phrases, describe your brand’s desired look and feel.
Be sure to check out these other logo tips for more inspiration!
2.0 – Research & Discovery Phase
Once the answers to the questionnaire are complete, we will go through and build up a solid base to work from moving forward.
Further questions may arise, which can be discussed so we best can understand the project before getting started.
2.1 – Client Discovery
We look into the existing business (unless it is a brand new startup) and try to uncover where they are at currently, in regards to Branding overall.
There may be facets of their business that had not been mentioned in the initial consultation, but the key point to client discovery is to understand their issues further to provide the best solution possible.
Often, the client may not know ‘why’ their brand is struggling, but to an expert brand consultant, looking to their current setup may provide meaningful answers in the logo design process.
2.2 – Industry Discovery
Working in so many varied industries, learning about the particular ’niche’ the client resides in is always important.
We look at their competitors to see what they are doing – if they are doing well, we consider what they are doing right.
If they are doing things badly, we can quickly know what to avoid to help our clients succeed.
2.3 – Primary Research – Qualitative Research & Quantitative Research
For more comprehensive Brand Identity design process, we delve deeper into the research levels of the Brand in question through Qualitative and Quantitative research methods.
Naturally, this takes a lot of time, so the lower priced logo design packages will tend to skip over this part.
Qualitative Research is primarily exploratory research.
We use it to discover reasons, opinions, and motivations – it provides insights into the overall problem.
Qualitative Research is also used to uncover trends in thought and opinion.
Quantitative Research is used to quantify the problem by way of generating numerical data that can be formatted into usable statistics.
It is used to quantify attitude, opinion, behaviour, and other defined variables – and generalise results from a larger sample population.
Quantitative Research uses measurable data to formulate facts and uncover patterns in research.
2.4 – Secondary Research
If possible, we will delve deeper into the client’s existing Brand Identity, looking into their existing Brand collateral such as reports, and of course the website.
Part Two – The Logo Process Steps

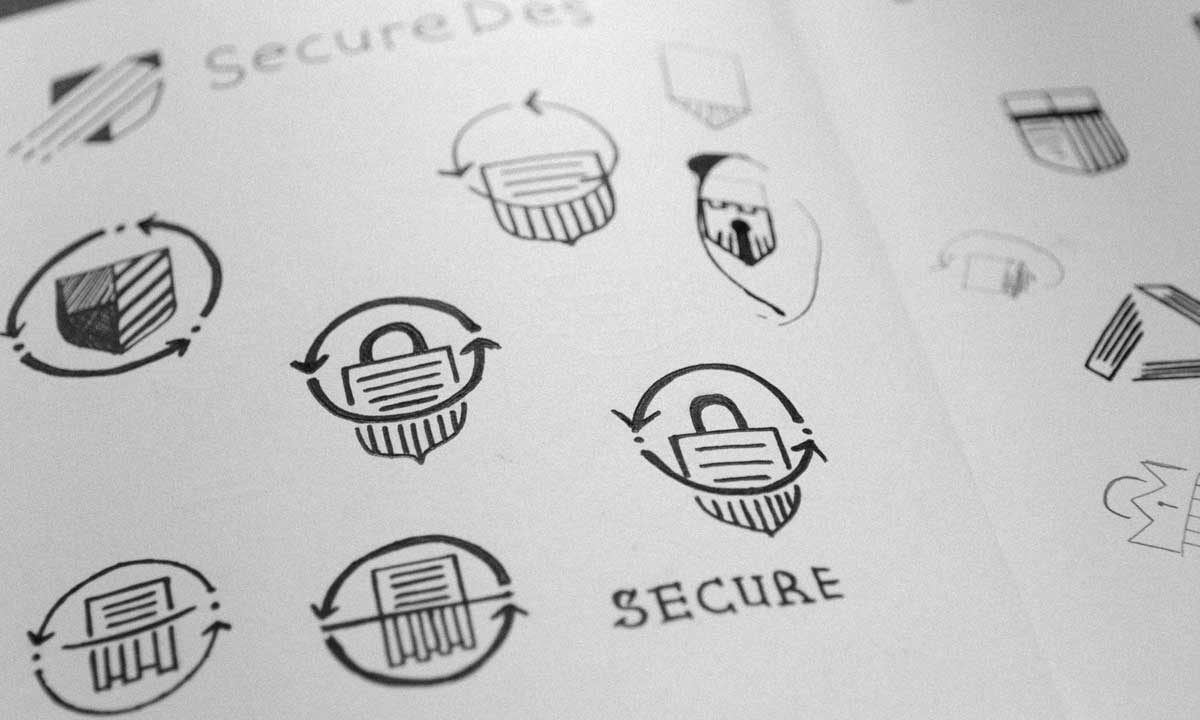
3.0 – Logo Sketches & Brainstorming
Every great logo design process starts with a sketch.
Be it a doodle on a napkin, or a carefully crafted pen crafted illustration – every project starts with on paper.
Often sketching or doodling client’s with a rough brainstorming session, usually visual in nature.
3.1 – Mood boards and Reference Imagery
Mood boards and reference imagery are collected from the start, occasionally with assistance from the client who has sent over images that portray the look or feel of what they want communicating in the logo design.
It can be hard to describe ’themes’ or colours in words, so we recommend the client send us over some visual inspiration if they can.
3.2 – Quick Sketches and Basic Forms
From the very first sketch in the notepad, there may be visual iconography or shapes that are appealing, and worthy of development.
At this stage, we may move to grid paper or dotted paper, redrawing and enlarging the original design, and refining with a pen for the next step.
3.3 – Refining the Logo with Gridlines
Further development of the logo sketches may take the form of grids and lines being drawn to balance and align things correctly.
Even organic shapes can be improved with a constructed grid, be it how the logomark could potentially sit alongside the logotype.
4.0 – Conceptualisation
Although conceptualisation can be defined as ’the forming of a concept’, at this point in the logo design process for clients, it is more a case of refining an idea further, by way of getting onto a computer.
The ‘idea’ is given a new viewpoint, when it can be viewed on a screen, allowing for us to observe any immediate concerns that may have been overlooked in the sketch.
4.1 – Creating Digital Versions of the Sketchbook
Working either with a scanner or recreating manually in Adobe Illustrator, the primary forms will be digitally constructed.
Having digital versions allows for quick amendments, adjustments and the ability to efficiently fine-tune the designs.
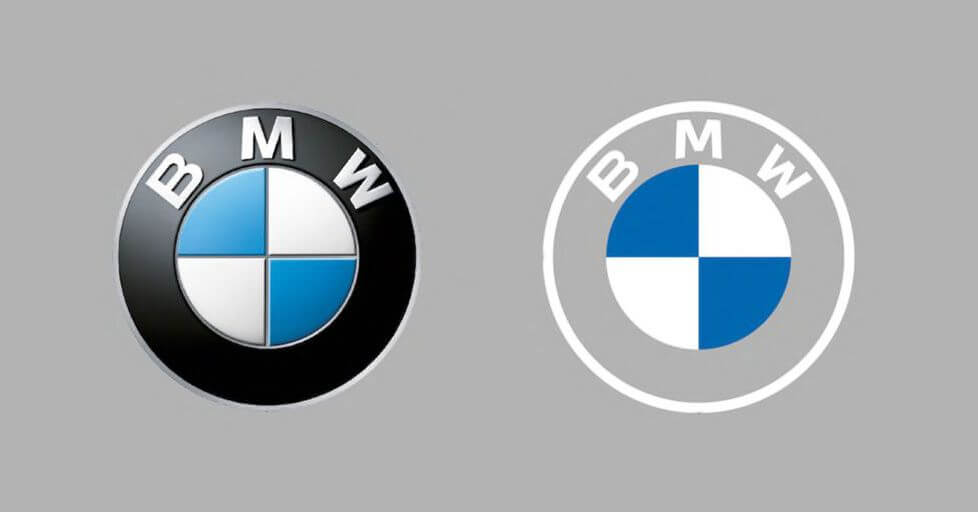
4.2 – Exploration in Monotone
Before colours are applied to any design, consideration of the logo design process must be taken in monotone black and white shades.
These are the extremes of colour, light and tone.
We see a lot of poorly created logo designs where the designer did not worry about how the logo would look in black and white.
Even though ‘fax’ as a medium is dying out, a great logo design must have the ability to look good in any format, in any output.
4.3 – Creating a Logotype
Once we have some rough ideas to work with for the logomark, we will start to think about how the company name will be represented through the logotype.
We will have a general idea of the style of typeface we are looking for, such as a contemporary sans-serif or old style serif, but finding the perfect font for the job involves browsing through an extensive font library we have collected.
If we want to be communicated find anything that fits the bill, a stylistically ‘close’ font may be customised to fit the needs of the project.
This can be advantageous, as it further creates a unique quality to the Brand, however, expanding this out to a bespoke font may add to the costs involved.
4.4 – Pulling it all together
Once we have a handful of typefaces that are appropriate to the Brand, we will explore how they look side-by-side with the logomark symbols created previously.
Several chosen colour palettes will be integrated into the design, to see what feels like the strongest approach.
Ultimately, this part of the logo design process stages involves many comparison prints where they can be considered on one page.
5.0 – Refinement & Client Presentation
At this juncture, the strongest logo concepts will be collated into a client presentation document.
We will show how the logo looks on various background colours, at different scales and alongside some logo mockups, such as a rendering of the design on a uniform or vehicle wraps.
This helps the client visualise their logo in a ‘real world’ setting, rather than just central on a page.
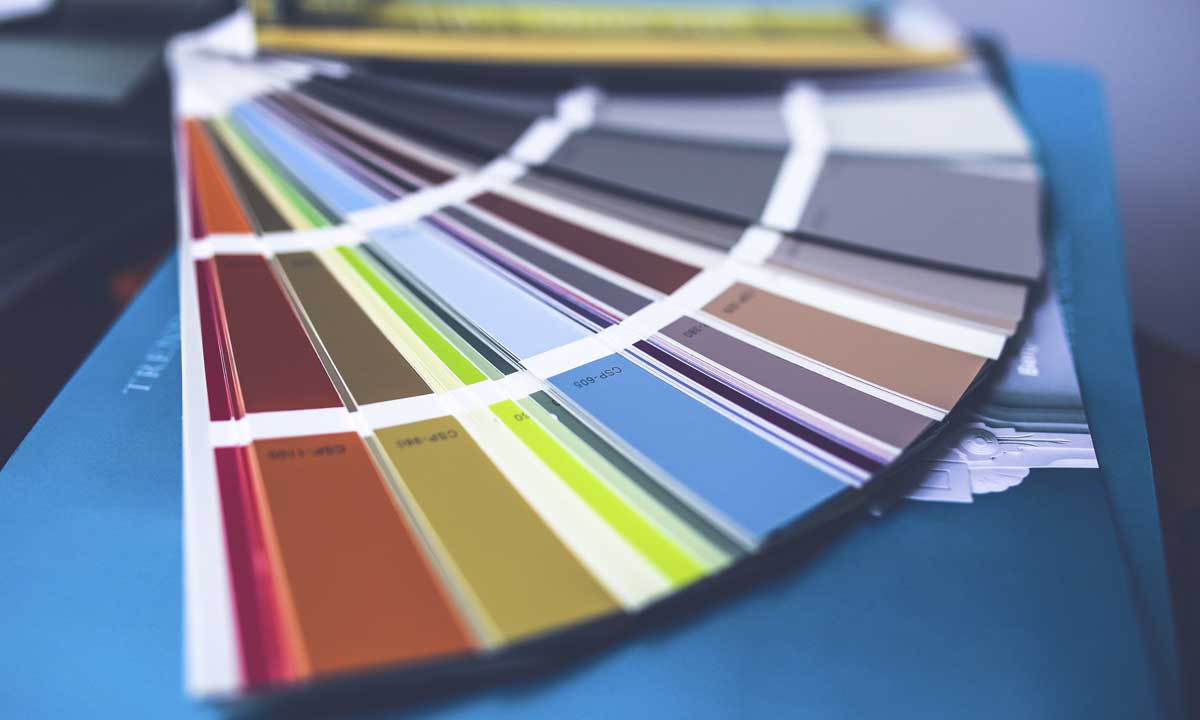
5.1 – Colour Scheme Exploration
Other alternative colour schemes may be presented to the client at this stage, again, to help visualise the potential of the concept.
As we said before, colour is very subjective, and a simple shift of hue can make the world of difference.
Maybe one of the red tones is quite vivid or a tone too light, we can show some quick alternatives to suit every eye.
5.2 – Future-proofing Adaptability
Consideration of ‘how’ the logo may know in future is taken, for we believe a logo should be timeless, rather than create issues down the line, or appear dated in just a few years.
5.3 – Creating Digital Mockups
Showing how a concept could look in real life if the client were to use it on a shirt, for example, can help them see the idea itself over the visual aesthetic.
It always impresses too, so we spend some time ensuring appropriate mockups are included.
5.4 – Logo Design Presentation to Client
The initial logo design presentation is exported to a secure PDF format, allowing them to view on screen or print out.
Printing is always recommended as their monitor may not show colours accurately, and the embedded print profiles allow for a more accurate representation.
Each concept has its PDF, ranging from 5-10+ pages depending on the scope of the project.
6.0 – Feedback & Consultation
We advise clients to at least spend a few days, to a week, with the initial concepts, although first impressions are always worth noting.
Print them out, stick them around the house or office and let the eye be drawn to them randomly, and naturally, as any real-life viewer may do when encountering the Brand.
Get feedback from trusted friends and family, including any current employees who of course will understand the Brand through their involvement.
Even if there are mixed opinions, all are valid and provide direction that allows us to improve anything that may be needed.
After that, a meeting can be arranged, or feedback can be provided via email to move forwards.
Occasionally, we will have more questions at this stage to further extract detailed feedback from the client.
6.1 – Discuss Logo Concepts with Client
We will spend some time discussing the concepts with the customer to gauge feedback.
The discussion may take no time at all, if the client has found one of the concepts to be perfect, to several hours if they have any uncertainties or questions that need clarifying.
It is all part of a professional logo design process!
6.2 – Advise and Provide Guidance on Selection
Normally, when we present initial concepts to clients, we will have a view on the ’strongest’ idea from the start, and showing the client these inherent qualities is often part of the discussion.
6.3 – Discuss Potential Developments the Client would like to see
Development varies considerably between projects, but overall, it is easier to develop the aesthetic side as supposed to the conceptual.
Aspects such as an alternate colour scheme or typeface can change the ‘look’, but the significance or meaning of a logo is much harder to modify.
7.0 – Concept Developments
Based on the feedback and discussion with the client, we will look into developing and tweaking a chosen concept.
This may be minor changes to the colour scheme, looking at different layouts, or presenting some alternative typefaces for consideration.
In almost every case, one concept will be perfect for the client, but on occasion, we have had to go down two chosen routes where a client simply cannot decide.
Usually, at this point, only one or two development cycles are needed, as it comes down to a colour or style element.
8.0 – Completed Graphic Design Presentation
Similar to the initial concepts presentation, this stage involves a more focused approach, where one concept has been fully fleshed out.
Further mockups, and realised stationery or business cards could be presented as the next logical step.
Part Three: The Branding Process Steps
9.0 – Expansion of Brand Collateral
Once the final logo design has been signed off, providing that is not the end of the project based on the client’s needs.
We can move to expand the logo onto the further branding process steps.
As mentioned before, a typical example is the company stationery.
Everything from the letterheads to the business cards or marketing materials can be created.
9.1 – Create Branded Stationery based on the Final Logo Design
Based on the physical location of the client, consideration has to be made of the local stationery dimensions.
A to a UK printer is very much different to that of a US-based printer.
We have created several templates that suit the global location of the customer, so it is just a case of working build the specific layouts.
9.2 – Expand the Branding onto Social Media Elements
From the social network profile images to the banners and headers, current dimensions are used to ensure everything looks perfect for the big reveal of the new Brand Identity to the world.
9.3 – Provide any Further Brand Collateral Required – Vehicle Wraps, Signage, etc.
This step in the logo Design process is always individual to the client, as not every business would need external signage for example.
If you run a gym, you may need to be Branded with uniforms, or if you own a car salesroom, vehicle wraps may be the better fit.
10.0 – Final Files, Delivery & Support
Everything is created in Adobe Illustrator, in vector form and can be exported to any format required.
The standard files consist of: .AI (for future editing if desired), .EPS / .PDF (for printing), .JPEG (for viewing) and .PNG (with a transparent background for web use).
The Vector file formats allow for the maximum range of output because you can scale the size without a loss of quality or sharpness.
This means that the same logo design that looks great on a business card will also look perfect on a billboard.
10.1 – Export all Final Files and Organise
The final files for a project will be neatly arranged so that the files are clear where they are to be used.
All the appropriate formats and layouts are included, along with monotone black and white versions for varied usage backgrounds.
If there is any ‘layout’ design, such as brochures or marketing flyers, files will be packaged in InDesign to include the images and fonts used, where applicable.
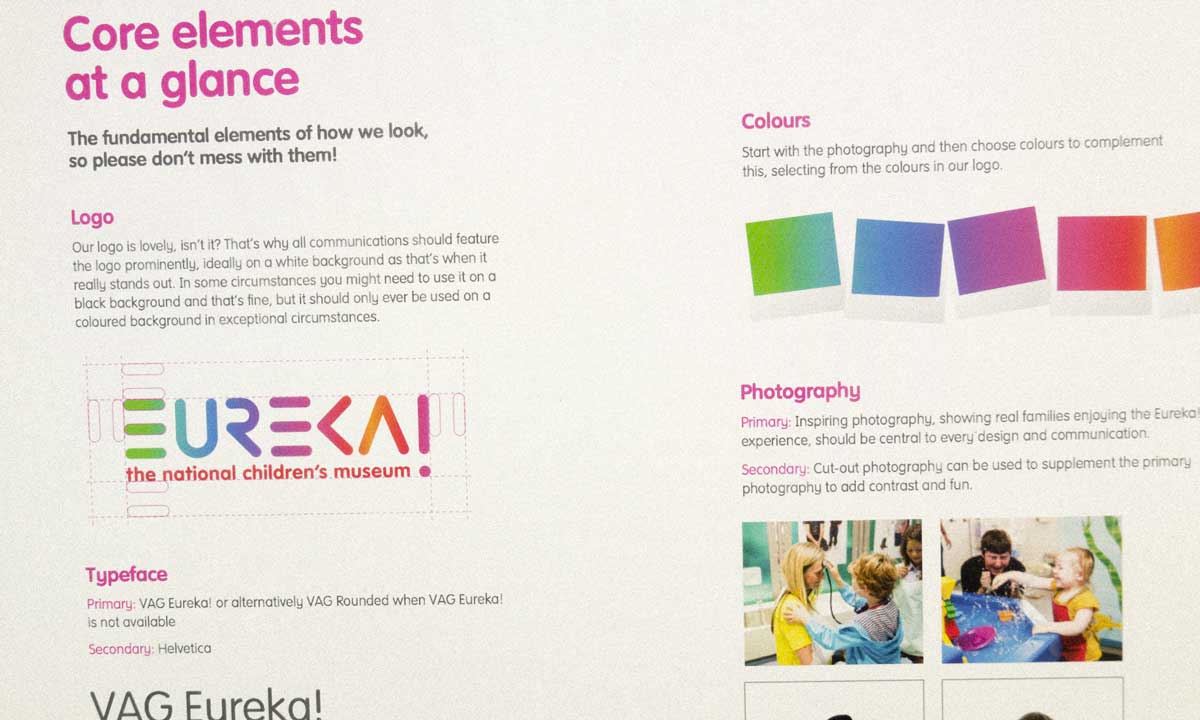
10.2 – Create Brand Guidelines Document
Brand Guidelines are just the ‘rues’ of how the Brand is to be presented to the world.
They can be passed along to a web developer who can see the exact colour values quickly to be used on the website, and what fonts are to be utilised in the content.
Similarly, these guidelines can be sent to a printer to ensure maximum accuracy when the documents are printed, through Pantone colour values.
10.3 – Send ZIP to Client and Archive in Dropbox
Everything is zipped up and emailed to the customer, CC’ing any additional employees that may need access to the original files.
We then permanently archive the ZIP file into our Dropbox, allowing the client to have a backup should they misplace the designs.
10.4 – Ensure Client Understands all Final Files and give Usage Instructions
We want to make sure the client knows how to use the designs they have paid us for, so we are on hand to provide immediate assistance or to answer any questions they may have, at any point in the future.
Further notes on Our Logo Design Process for Creating a Logo
As mentioned above, every project is truly different, that is one of the most enjoyable parts of being a Graphic Design Agency in Belfast.
Therefore, not every project will pass through every step above, instead of skipping anything that the client may not have the budget for.
For example, if they are just looking for a professional logo design for their startup, it may not be sensible to allocate significant budget into further Branding process steps.
They may have already completed market research themselves, so that can be passed along to us, which means we can proceed to the next stage with the work already done.
The above Logo Design process for clients Logos and Branding can be used as a template to work from if you wished to create your own Brand Identity, although we do of course advise working with an expert.
Hopefully, that helps, if you have any questions about our professional logo design process in creating a logo for successful Brands, get in touch today!
![]()
The post Professional Logo Design Process From Start To Finish is by Stuart and appeared first on Inkbot Design.
This content was originally published here.