Creating a website can seem terrifying, especially if you aren’t technically savvy. But knowing how to build a website from the ground up is one of the most important skills a business owner could have.
So, we’ve put together a simple guide on how to create a website in WordPress without knowing how to code.

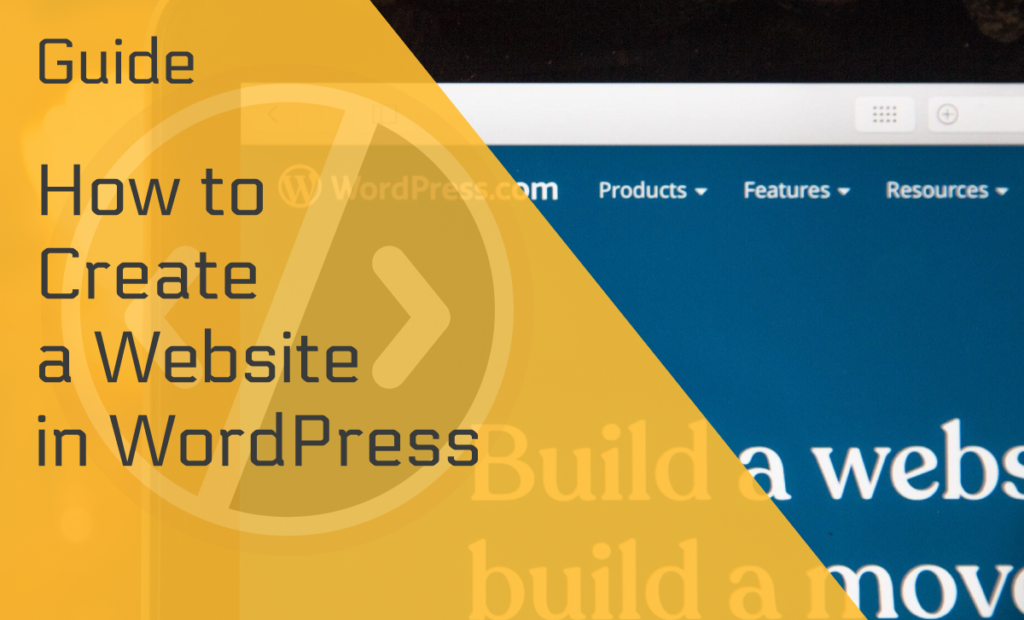
Let’s start by answering the most crucial question — what is WordPress?
What is WordPress?
WordPress is a content management system (CMS) written in PHP, working with a MySQL/MariaDB database.
In simpler terms, WordPress is a website builder where you can create simple websites for your business and blog. Anyone can build a website from scratch, regardless of their coding skills.
Not to mention that WordPress is one of the cheapest website builders
Why Choose WordPress to Make a Website?
WordPress has distinct advantages that have propelled it to dominance. First, it’s completely free and open source, so you may use it and modify it as you see fit.
Its sites are mobile-responsive, have a built-in blog, and are user-friendly — you can create a website with WordPress in minutes.
With its many features, including various templates and tools, you can simply plug in your information, create a website, and use different add-ons, plugins, and themes to customize its look.
Because of its versatility, WordPress hosts over 455 million websites worldwide.
Creating a Website in WordPress Step–by–Step
Now that we know the benefits of creating a website in WordPress, it’s time to get into the nitty-gritty of how to make your website.
Keep reading to find out.
Step 1 — Define Your Website
Choose a niche and domain name related to the niche. The name should be interesting and easy to remember for the users. If you need help, consider doing keyword research.
And don’t get stuck — if .com is taken, consider .co or .net.
Step 2 — Get Web Hosting
It will help if you find a reliable web host so you can build a professional website with WordPress. You can choose between shared, VPS, or dedicated hosting.
Shared hosting
Shared hosting is ideal for new website owners. With shared hosting, your website is stored on the same server as several other websites.
Since all resources are shared, shared hosting plans are relatively inexpensive, making them an excellent choice for new, small businesses.
While shared hosting is affordable, loading time can be slower and servers can be overburdened at times.
VPS Hosting
VPS hosting is more expensive than shared hosting but includes many benefits like reliability, flexibility, and better resource allocation. It’s perfect for website owners who want more control in creating a website in WordPress step–by–step but don’t require a dedicated server.
It gives website owners more storage space and customization, but it’s still not capable of handling extremely high traffic levels.
Dedicated hosting
Dedicated hosting provides website owners with the most control, meaning you have complete root and admin access. All of that power, however, comes at a cost.
Dedicated hosting is among the most costly web hosting options. They’re typically used by website owners with high levels of website traffic, so it’s best for large companies. Although with a bit of research, you can find some cheaper options.
Also, you’ll need a high level of technical expertise for the management of the server.
Step 3 — Install WordPress
You can download the latest version of WordPress from WordPress.org.
Once you’re done, choose a design and install a theme. You can choose one of the many free themes WordPress has to offer.
However, WordPress website examples show a lot of different themes that can cost hundreds of dollars!
Step 4 — Add Pages and Content
WordPress includes two default content types: pages and posts.
First, complete your administrative pages, such as your about page, contact page, privacy policy, and disclaimer page.
Next, start adding your first posts. Make sure your content is high-quality and engaging to the readers.
We also recommend creating a content calendar that will help you stay on track.
Step 5 — Install Plugins in WordPress
Want to customize your website further? Wonderful! Let us introduce you to plugins.
Plugins are PHP scripting language programs that add specific features to the website. WordPress plugins add a lot of flexibility and customization to your site.
Some of the features you can add with plugins are polls, restaurant reservations, contact forms, social network feeds, etc.
You don’t have to add plugins straight away if you’re feeling overwhelmed, but it’s good to keep them in mind for future use.
Step 6 — Backup Your Website
Back up your content in case of a crash, so you don’t have to start from scratch. Backup your plugins, posts, and affiliate links, and you’ll have one worry less.
If you’re concerned about constantly having to backup your site, some web hosts offer automatic backup services.
Creating a Blog in a WordPress Website
WordPress is a fantastic solution for starting a blog since it’s surprisingly easy. All it takes is a few simple steps, and your blog will be up and running in no time.
Step 1 — Buy hosting and your domain name
Once you’ve chosen your niche, you need hosting and domain.
You can buy your blog hosting and domain at the same time. There’s a huge number of cheap WordPress hosts to choose from, so choose one that suits your needs.
Step 2 — Install Blogging Software
Once you’ve chosen your WordPress hosting, you should receive an email with instructions on how to log in to the Customer Area after completing the sign-up process.
When you first log in, the hosting company will provide you with a simple wizard to walk you through the installation process.
However, most blog hosting companies now automatically install WordPress to assist beginners.
Step 3 — Change Your Blog’s Look
One of the benefits of creating a blog page in a WordPress website is accessing its vast collection of plugins and themes.
To browse free themes and plugins, check the official directories or check this Astra WordPress Theme Review.
As previously mentioned, themes change how your blog looks, while the plugins add functionality to the blog.
Step 4 — Create Your First Post
To create your first post, click “Add New” on your dashboard.
This way, you’ll start WordPress Editor, which enables you to create visually appealing layouts for blog posts using an intuitive block system.
You can add new “blocks” for other types of content, such as images or embedded YouTube videos.
How to create a membership website in WordPress
Membership sites allow you to charge users for access to specific areas or restricted content, increasing your site’s revenue.
In this section, we’ll show you how to create one in WordPress.
Step 1 — Set Up The MemberPress Plugin
You should begin by installing and activating the MemberPress plugin. This plugin has many features, and it works flawlessly with third-party plugins required for business growth.
All you need to do is go to MemberPress » Options and customize its many settings any way you want.
Step 2 — Add Payment Methods
Creating a membership website in WordPress requires you to set up a payment gateway so you can accept payments on the site.
To do so, go to the “Payments” tab and click “Add Payment Method.”
MemberPress allows you to accept payments through Authorize.net, Stripe, and PayPal. You can choose all three, or just one.
Step 3 — Create Membership Levels
Once you’re done with payment methods, you can create different membership plans for visitors to buy.
Membership levels should differ in content, features, and pricing plans. Luckily, MemberPress allows you to create an unlimited number of levels.
Create a pricing page the users can see when they want to choose a membership plan. Of course, it’s always a good idea to have a free plan, as well.
To do this, all you have to do is go to MemberPress » Memberships, click the “Add New” button, and you’re one step closer to completing the steps in creating a WordPress website for membership.
Step 4 — Restrict Access
By restricting access, you decide which content will be available to various membership plans on your site.
With the feature “Rules,” MemberPress makes it simple to control access.
Two features you can find are “Drip” and “Expiration.”
Drip allows you to gradually release content, while Expiration lets you choose when the content will no longer be available.
Step 5 — Add User Login and Sign-up Forms
You must include a login form so that your members can access their accounts easily.
To do this, go to Appearance » Widgets and click the ‘Plus’ icon to get started.
First, create a new widget block. Then, look for ‘MemberPress login’ and select the block. This will add the login form to your sidebar.
You also need to add your pricing page URL to the menu so users can sign up. Go to Appearance » Menus to create a new menu.
After that, select ‘Pricing Plans’ and click ‘Add to Menu.’
All done!
Wrapping Up
You can create a website in WordPress easily and quickly. WordPress is user-friendly and a mighty CMS, allowing you to set up and administer sites more quickly than others and for free.
Creating a site is simple, but don’t forget to maintain it, make it evolve, and ensure the site is secure.
So what are you waiting for? Start creating your professional, polished website that reflects you and your business.
The post How to Create a Website in WordPress in a Few Easy Steps appeared first on WebsiteBuilder.org.
This content was originally published here.